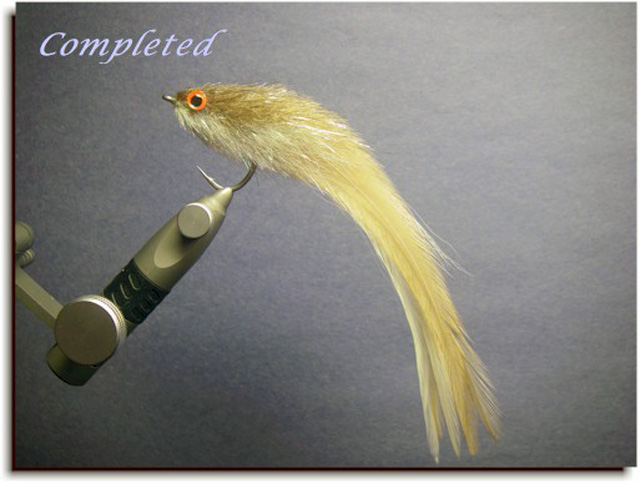
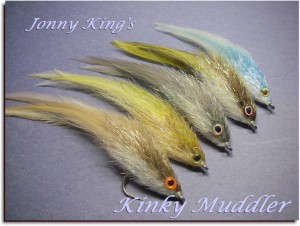
King’s Kinky Muddler
Jonny King is a master at stacking hair among other difficult tying techniques. Check out this pattern and more at Dan Blanton’s super informative site. Check out more of Jonny’s creations on Facebook.
…and be sure to check out Jonny’s tying booth at he next fly fishing show you attend.
KINKY MUDDLER TYING INSTRUCTIONS
Materials List:
Hook – short shank saltwater, such as Varivas 2600 ST-V, Mustad Signature C68S, or Owner Aki
Thread – fine mono
Tail – bucktail under three pairs of saddle hackles, tied in “tented” fashion to create an inverted “V”
Head – blended Kinky Fiber and Angel Hair (SF Flash Blend)
Eyes – 3D
***********************************************************
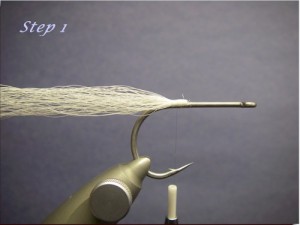
1 – Attach sparse bucktail above bend of hook.
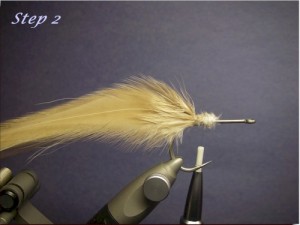
2 – On top of the bucktail, tie in three pairs of saddle hackles in tented fashion, to created an inverted “V.” To do so, tie in a single white saddle on either side of the bucktail, so that each hackle touches fibers at the top but angles outward on its bottom edge. Tie in hackles singly and only use one or two wraps of thread to hold them in place. Then, on each side, tie in darker colors in the same orientation to create the “tent” of saddles that imitates the dorsal surface of a baitfish.
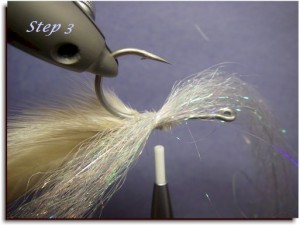
3 – Turn hook over in vise and attach a hank of white SF Flash Blend crossways so that the fibers on the near side of the shank lay back towards the bend, and the fibers on the far shank point forward, towards the hook eye.
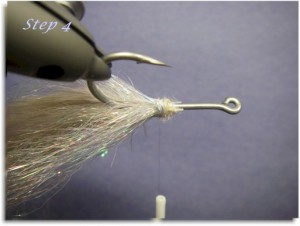
4 – Fold the forward facing fibers back on the far side of the shank and trap with a few thread wraps, creating a “V” of fibers surrounding the hook bend..
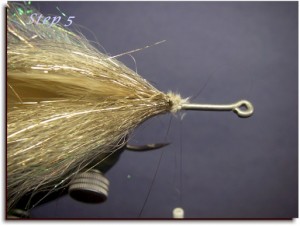
5 – Flip the hook in the vise again, move a few thread wraps forward, and then secure the a darker hank of the SF Flash Blend using the same procedure, creating a “V” of fibers trailing back over the tail.
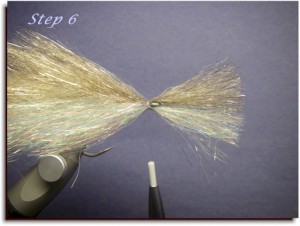
6 – Fill the shank with similar “V” ties on top and bottom until just near the eye, but then, for the last tie right at the eye, tie white on bottom and dark on top straight along the hook shank, with no V. This time, attach both colors before posting back.
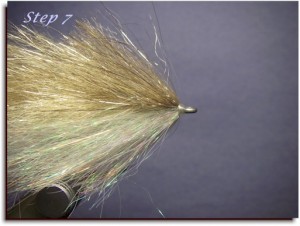
7– Use your thumbnail to spread each color 180 degrees top and bottom, force the fibers back Hollow Fleye style, and post with a final dam of thread in front.
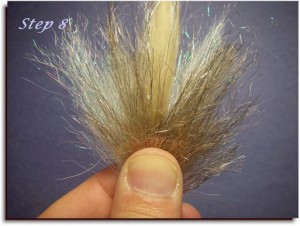
8 — To start the trimming process, squeeze the head top and bottom with the thumb and forefinger, which fans out and aligns the fibers, and trim the sides to the smooth outlines of a baitfish, using your thumb as a guide. Then do the same thing by squeezing the fly side-to-side to fan the fibers up and down, allowing you to trim top and bottom to the outlines of a baitfish head.
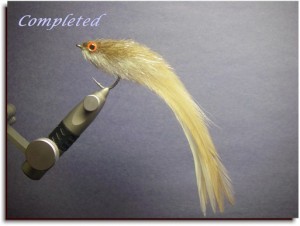
9 — Complete trimming and glue on dome eyes.
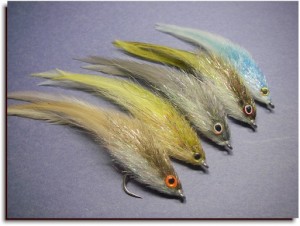
10 — Example flies.


