
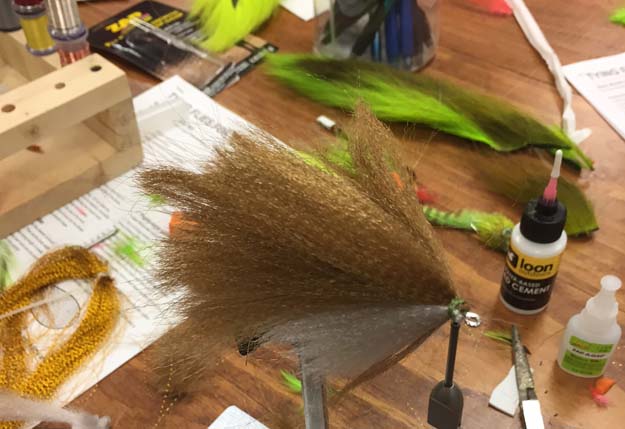
Other essential tools: scissors, half hitch tool, dubbing needle
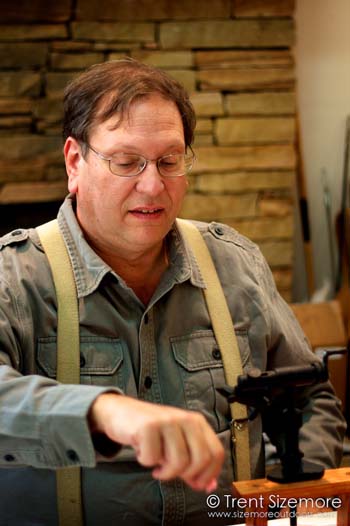
Photo credit Trent Sizemore. Steve Hudson was tying patterns at the famous Unicoi Outfitters in North Georgia. Steve patterns and tying techniques are embraced throughout the Southeastern U. S.
Beginner Fly Tying by Steve Hudson, Editor-At-Large
[dropcap]I[/dropcap]n our first installment we took a look at one essential fly tying tool – the tying vise. However, there are several other important tools you’ll want on your bench. That’s what we’ll look at now.
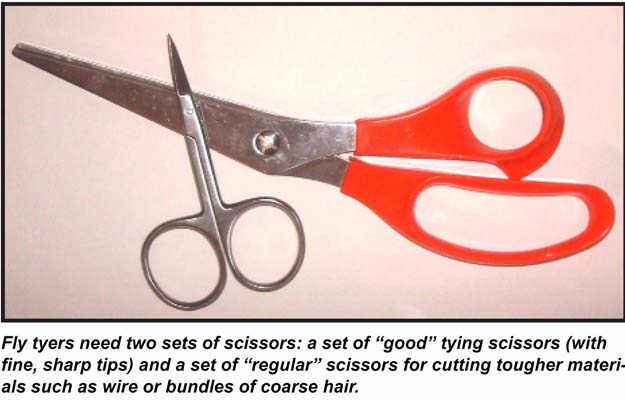
Scissors
Every fly tyer needs a set of quality tying scissors. A good set will be your friend forever.
What makes scissors “good” for tying? Here are two key areas to consider when making your selection:
The scissor tips:
Sharp tips are critical. If the tips are not sharp, they will not do the job. You can test the tips by holding a piece of thread in one hand and trying to cut it with only the tips of the scissors. The better the scissors, the easier this will be to do.
Some tying scissors have lightly serrated blades. These help the scissors cut softer materials, and many tyers prefer them.
To be most effective for fly tying use, those tips should also be pointed tips. This allows you to reach in with just the tip of your scissors for precise cutting, something that’s often critically important.
Finger holes:
It sounds obvious, but many tyers overlook the fact that even the best scissors won’t cut it if the finger holes are too small. Make sure that your fingers fit comfortably. Scissors sold as “fly tying scissors” in fly shops usually have adequately sized finger holes.
There are other things to consider too. For example, should the blades of your scissors be straight or curved? Start with straight blades. They’ll handle almost all cutting tasks that are likely to arise. As you get more into it, add a second set with curved blades for tasks such as making curved cuts – but that comes later.
Should you have some “clunky” scissors too for heavy-duty tasks such as cutting bundles of deer hair? That’s probably a good idea. Reserve your “good” scissors for things like trimming thread, feathers, and similar materials. When you must cut large bunches of hair or other tough materials, set your good scissors aside and use a small set of regular scissors instead. The short craft-type scissors sold in many craft stores are ideal for such tasks. Let the craft scissors handle the heavy lifting, and save your good scissors for the finer tasks.
 Half-hitch tool
A “half-hitch” is a simple knot that finds all sorts of fly tying applications. We’ll reference it frequently in the weeks to come. It’s every fly tyer’s friend, and you can use it for everything from securing materials during the tying process to tying off the thread on the head of a finished fly.
While half hitches can be tied by hand, most tyers find them much easier to form with a neat little gadget called a half-hitch tool.
A half hitch tool is nothing more than a tapered rod with a hole in the end, and since it’s so simple, it’s usually refreshingly inexpensive. They’re often sold in sets of two or three for use when tying a range of fly sizes.
In addition to being sold by themselves, half-hitch tools are also commonly found on the unused end of other tools (notably bodkins and bobbin threaders). This allows one tool to do double duty.
How do you use a half-hitch tool? It’s easy, as shown in the illustration. Basically, you simply wrap one or two (I prefer two) turns of thread onto the end of the tool, wrapping in the same direction that you’ve been wrapping thread onto the fly. Then you place the opening in the end of the tool over the eye of the hook and slide the wraps of thread off the tool and onto the fly. Pull the thread tight, and your half hitch is complete. That’s all there is to it.
How do you use a half-hitch tool? It’s easy, as shown in the illustration. Basically, you simply wrap one or two (I prefer two) turns of thread onto the end of the tool, wrapping in the same direction that you’ve been wrapping thread onto the fly. Then you place the opening in the end of the tool over the eye of the hook and slide the wraps of thread off the tool and onto the fly. Pull the thread tight, and your half hitch is complete. That’s all there is to it.
What about a whip finisher?
As you move more into the world of fly tying, you’ll begin to hear people talking about using a “whip finish” to tie off the thread when tying a fly. Whip finishers are elegant tools, and they do indeed let you create nice heads on the flies you tie. However, beginners may find whip finishers confusing to use. For that reason, for now, we will stick with half hitch tools in this book.
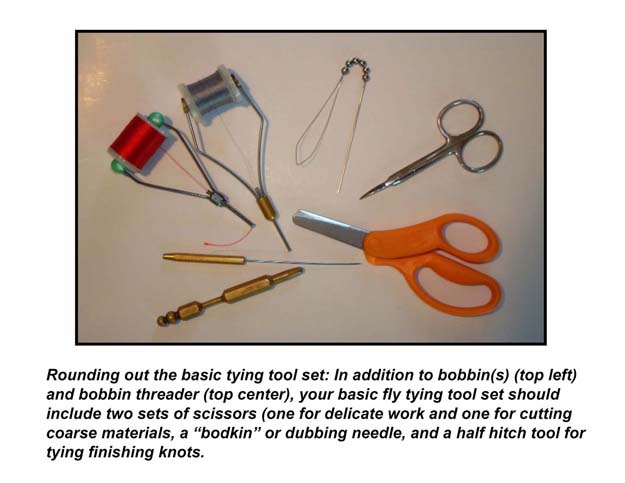
Note:: Upper left are two bobbins which will be covered in # 3 next Friday
Dubbing needle
One additional tool that’s good to have on your bench is the dubbing needle. Also known as a “bodkin,” a dubbing needle is nothing more than a needle that’s been mounted in a handle of some sort. You can purchase one for just a few dollars (it will often be configured with a half-hitch tool on the non-needle end) or you can easily make one of your own by simply gluing a needle into a short wooden or plastic handle.
Use the dubbing needle to “pick out” fibers of dubbing (thus its name) and make flies look more buggy, to pull out stray feather fibers, to poke out eyes of hooks, and to apply a drop of head cement. It’s an incredibly useful tool, and you’ll definitely want one on your bench.
Other tools you’ll eventually want to have
Our short list of essential tying tools vise, bobbin-next Friday, scissors, half hitch tool, and dubbing needle is all you’ll need to get started. But that list barely scratches the surface of the myriad tools available to the modern fly tyer. Eventually, you’ll want to add many of those tools too. Specialized creations such as hair stackers and dubbing loop tools have real and important applications in some tying situations. But let’s keep it simple for now and stick with the basics. We’ll add those others later on as we need ‘em!
Click on image to buy course book.
Editors Note
This series is based on the book A STRUCTURED COURSE IN FLY TYING, published by Chattahoochee Media and available from many fly shops, from Amazon, or direct from the author. You may want to get a copy to reference as you go through the course, for it covers many areas in more detail than we can here.
A complete kit of all tying materials needed to tie each of the flies covered in this course (as well as additional patterns covered in the book) is also available. It can be purchased directly from Chattahoochee Media by visiting the webstore.
About the author:
Steve Hudson has enjoyed fly tying and fly fishing for many years and has taught thousands of people to tie flies. An award-winning outdoor writer and illustrator, he has written extensively about fly fishing, fly tying, hiking, travel and outdoor recreation, with numerous magazine articles and more than 20 books to his credit. He lives in North Georgia.
Next Friday the all important bobbin
Sponsored