
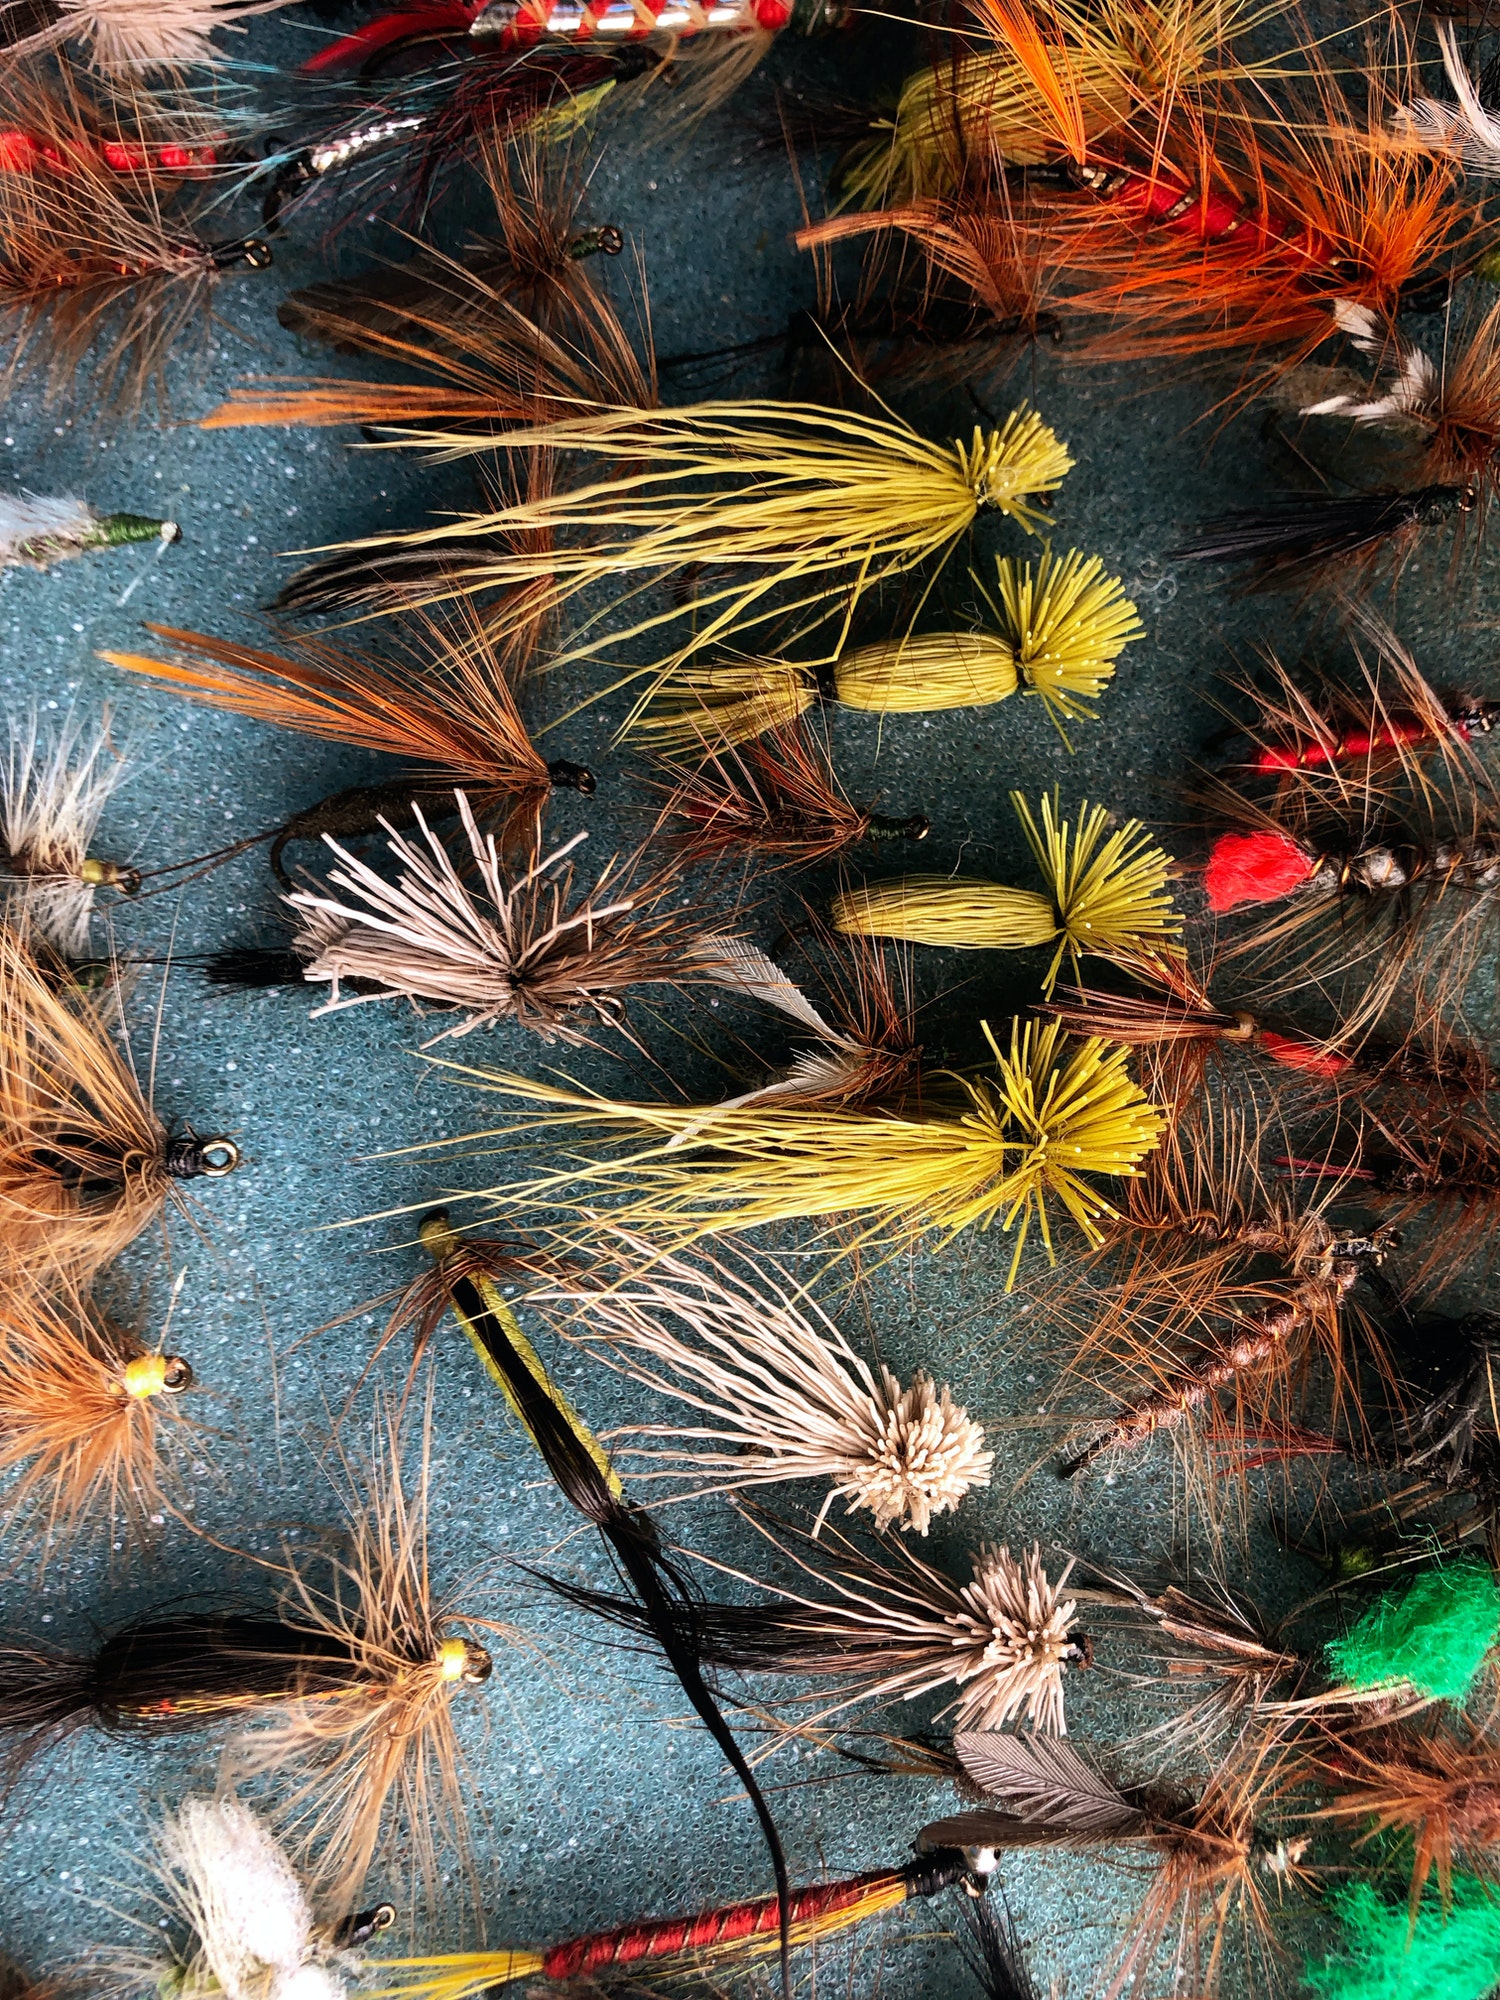
Flies catch everything from panfish to marlin.
Most tyers agree that once winter comes, trout flies get small
By Steve Hudson
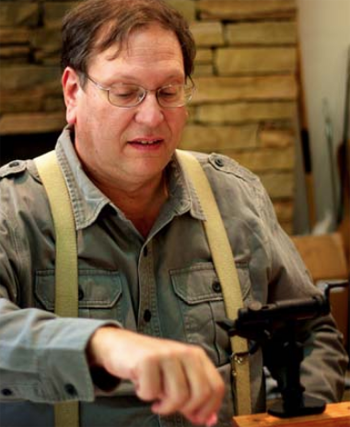
Steve Hudson, former field editor for Fly Life Magazine.com, at a local North Georgia fly shop – promoting fly tying. A Trent Sizemore image.
Here where I live (in northern Georgia), winter is the season of the midge. Tiny midge emergers can be very effective in wintertime, so along about now; I start tying up a fresh crop of size 18 and size 20 midge emergers to use through the cold months between now and next spring
It’s actually kind of fun to tie these little flies, but (pardon the expression) the fly in the ointment always seems to be the matter of handling the correspondingly tiny beads. Believe it: there is nothing smaller than a bead for a size 18 or 20 hook. Tiny does not describe it!
Let’s face it – truth be told, it’s a pain in the stern to deal with extremely tiny beads. They’re hard to handle and can be even harder to get onto the hook.
Are beads on tiny flies worth the trouble?
You bet they are. The big payoff, of course, is that a bead adds weight. Brass or (especially) tungsten beads help your midge emerger to sink, and that can make the difference between casting practice and “fish on!”
A bead also adds a bit of “visual mass” at the front of the fly. That’s especially important when tying midge emergers. Without the bead, you’ve basically got a larva imitation. But add the bead to give the fly a thicker thorax, and it transforms visually into a closer approximation of the a real emerging insect.
A bead also adds a bit of eye-catching flash to the fly. I don’t know how trout see tiny midges flies in the first place, but the fish are clearly able to pick out the insects from all the other stuff that’s flowing along with the current. Maybe a bead’s sparkle acts like a little beacon that draws the trout’s attention, helping the fish to single out your fly from among the myriad other things that are drifting by.
Beads used in fly tying have no restrictions on size, shape, color, weight, or material. The supply is almost endless.
Metal or glass?
As a tyer of midge emergers, your first choice is whether to use a metal bead or a glass bead. Which one is best? Here are some considerations that may help you decide.
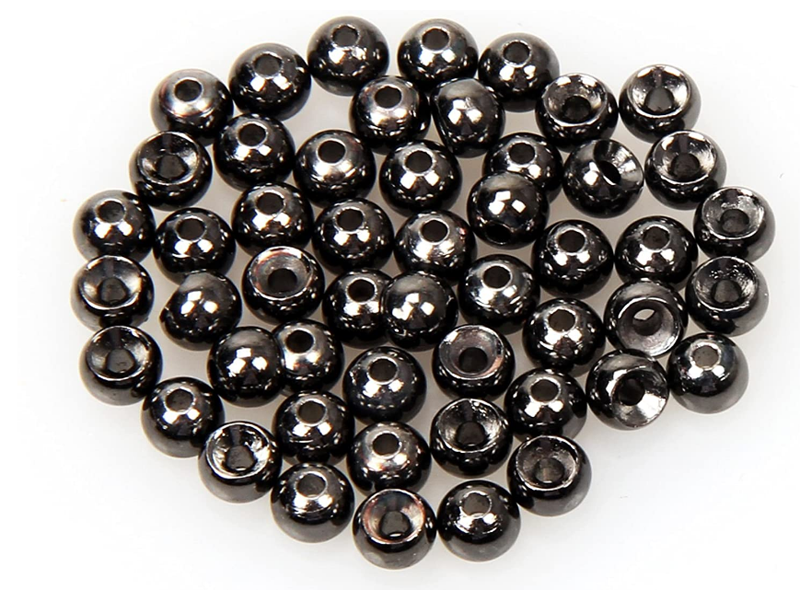
Metal beads:
For midge emergers, metal beads have a lot going for them – most notably the fact that they’re heavy. In the universe of very small flies, even a tiny bead can add significant weight. Brass is good; tungsten is even better. So if your goal is to get the fly to sink quickly, a metal bead is the way to go.
Are there drawbacks to metal beads? One potential challenge is orienting them small-hole-first and then getting them onto the hook. Tyers have devised all sorts of ways to do that. We’ll look at some of those in a moment.
A drawback of metal beads is a limited range of available colors. Most midge emerger tyers use silver or gold, which are widely available, but sometimes you get the urge to try something else. Bead manufacturers rare ecognizing this and now offer tiny beads in a wider range of colors.
Glass beads:
What about glass beads? Glass is not as heavy as brass, so glass beads are good choice when a lighter-weight fly is the goal. For example, I like to use them when I’m purposefully tying emergers to fish in the surface film or as droppers below tiny dries.
Another plus: Glass beads know no limit where coloration is concerned. Glass beads are manufactured primarily for the craft market, and crafters demand a broad spectrum of colors. Fly tyers benefit! If your fly shop does not have small glass beads in the color you want, check out the beading section of the nearest big-box craft store. There, you’ll find more bead colors than you might have imagined possible.
But note that sizing can be an issue with glass beads. Glass bead manufacture seems to be far from an exact science, and in some cases you’ll find that glass beads are inconsistent in size and shape – even within a given batch. Thus, you may need to do some high-grading and selecting when you sit down at the bench and actually start tying.
Another thing to consider when using glass beads is the size of the bead’s central hole. If it’s too small, it won’t go over the hook’s barb — and forcing it can crack the glass bead apart. On the other hand, if that hole is too big, it can actually slip over the eye of the hook. The only way to be sure is to try individual beads until you find one that goes onto the hook and fits correctly.
So which is better – metal or glass? As you’ve probably figured out, it depends on the application and the pattern. But taking a look at my midge box just now, I see that I use far more metal beads. I’m guessing that you will do the same.
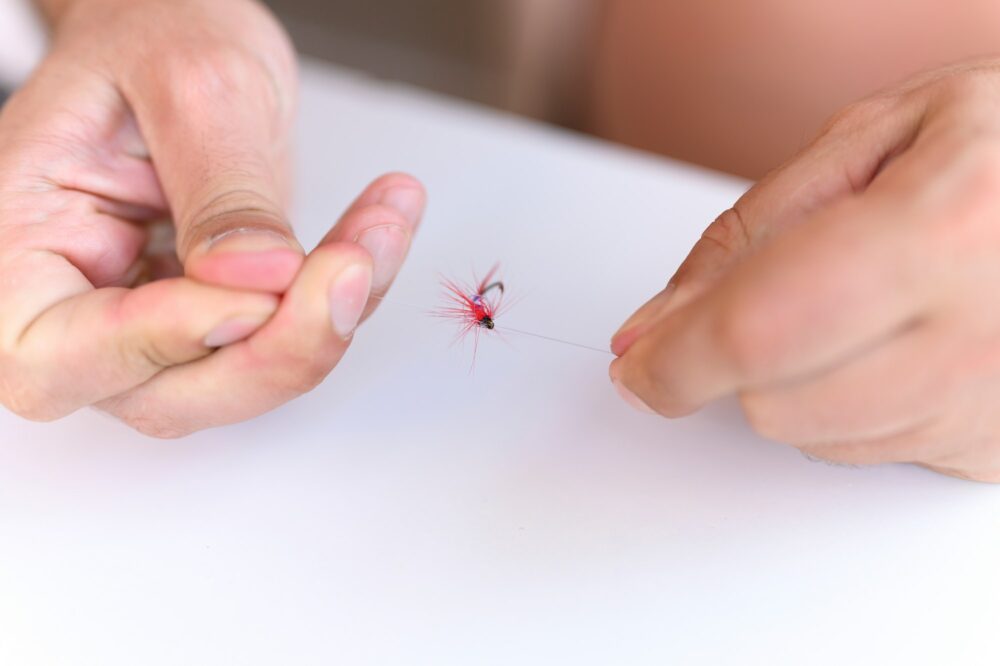
Putting the bead on the hook
Picking out beads is the fun part; the challenge comes when it’s time to put the bead onto the hook. That’s not much of a problem with larger hooks and larger beads, but when you’re tying size 18 or size 20 flies it can be far from trivial.
Tyers have come up with all sorts of ways to do unite hook and bead. One is to put the bead in the palm of your hand, grasp the hook shank with a set of hackle pliers or other locking pliers, and then fish around with the point of the hook until you catch the bead just right (small hole first) and it slips onto the hook. Hopefully, at that point, the bead will slide around the bend of the hook and you’ll be on your way. In some cases you may need to (carefully!) give the bead a little push to pop it over the hook’s barb. Alternately, gently mash the barb down a bit to allow the bead to pass. It usually doesn’t take much.
Going to the mat
A variation on that approach uses what’s called a bead mat. Manufactured with textured or dimpled surfaces, such mats are designed to keep beads from rolling around. Bead crafters love them, and fly tyers love them too.
These mats are manufactured with a grid of shallow dimples which do a great job of holding individual beads in place, simplifying the task of catching one of those beads with the point of your hook. All you have to do is to pour out a few beads onto the mat; the individual beads will settle into the dimples on the mat’s surface. Then, holding your hook by its shank with some hackle pliers or self-closing tweezers, maneuver the hook so that its point slips into the hole in the bead.
Again, good light and magnification can help.
In a future article I’d like to take a look at some of the bead mats available to fly tyers. If you have a favorite, let me know!
The upside-down hook approach
One of my top-three ways to place a small bead on a small hook is to first put the hook in my vice upside down (that is, with the point on top). Then I grab a bead with a set of beading tweezers (that is tweezers with small dimples in the tips to facilitate grasping individual beads) or other suitable tool and then slip it over the hook’s point. The bead has to be oriented correctly in the tweezers, of course.
I’ve even found that I can hold the bead in my fingers, rolling it around until the small hole is properly positioned. Then I push it onto the hook. Once in a while I’ll poke my finger in the process, but I wear that as a midge tyer’s badge of honor!
Glass beads: the special case
As it turns out, glass beads are fairly easy to place onto the hook. Since a glass bead’s hole is the same from either side, a glass bead can go onto the hook either way. That opens to the door for a very simple trick for placing glass beads onto hooks.
Here’s how it works. First, pour out your glass beads into a shallow container of some sort. Then use hackle pliers or locking tweezers to grasp the hook the hook’s eye. Then simply fish the point of the hook through the container of beads. As you do so, odds are that it’ll pick up a bead. It’s simple as that!
What if the bead won’t go beyond the hook point?
Regardless of whether you’re using metal or glass beads, you’ll encounter situations where the bead goes onto the point but then won’t go past the barb. What can you do then?
Often, you can use your fingernail to gently push the bead over the barb. That can save the day with metal beads. But if you’re using glass beads and find that you have to push very hard, you’ll run the risk of cracking the glass bead and breaking it apart. With glass beads, a better solution is to gently mash the barb down a little…or try another bead.
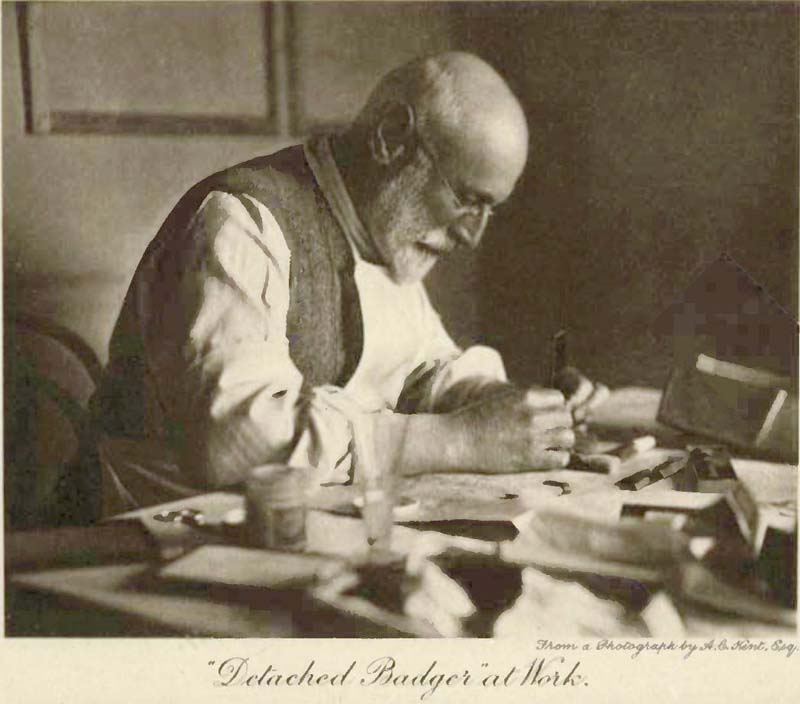
Frontpiece showing Frederic M. Halford tying flies from The Dry Fly Fisherman’s Entomology Mosley, 1921. Image credit Mike Cline. A commons image.
Set up a production line
One thing that I’ve learn when tying tiny beadhead emergers is that it’s usually more productive to prepare a bunch of hook/bead combos at one time. It seems that once my brain gets into “place-bead-on-hook” mode, I can whip out 15 or 20 beaded hooks fairly quickly. Then I put those in a small container and place ‘em in my vise as needed. That seems to make the tying process more fun.
Don’t let tiny beads get you down!
I hope you won’t be intimidated by the challenges of working with tiny beads on tiny hooks. Yes, it takes a little attention and effort to make it work But I’m confident you’ll be able to master the process in no time – and the beadhead midge emergers you’ll then create will hopefully make for some memorable days on the water.
About Steve Hudson
Steve is well known in the Southeast for his books on fly tying, hiking Appalachia, fly fishing, fly rod building, and creative writing professorship at local colleges. Click here to see his published works . . .
Sponsored