
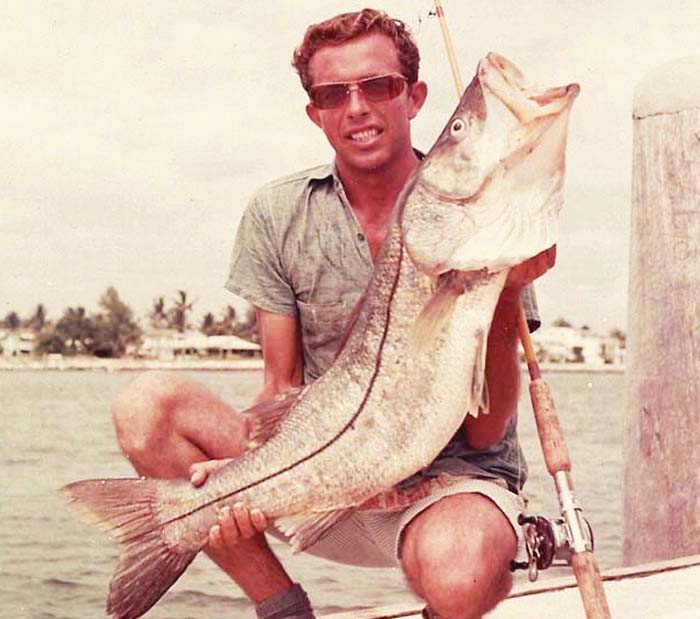
Palm Beach Inlet dock – 1963 – Duncan photo. I guess they were bigger back-in-the-day? Norman Duncan photo.
No Harm No Foul
By Skip Clement
The Uni-Knot name was coined by a likable outdoor writer who passed away a dozen or so years ago. His renaming of the Duncan Loop came after being shown by Norman Duncan how it was tied, and the various applications it could be applied to, but that was decades ago. Although the outdoor writer took claim – he recanted on the indiscretion many years ago, but the Uni-Knot name persists.
“Here’s how my loop knot is tied” — Norman Duncan
I start by tying an overhand knot with the mono around both the loop and the mono leader, passing the end of the mono through the loop three to six times then pulling it down with tension on both the mono leader and the tag end. When the mono folds over and starts snugging down, I then slid the knot down to the end of the leader and cinched it. By experimenting with different methods of tying this knot, I finally developed the following method as the easiest:
Drawings and instructions by Norman Duncan

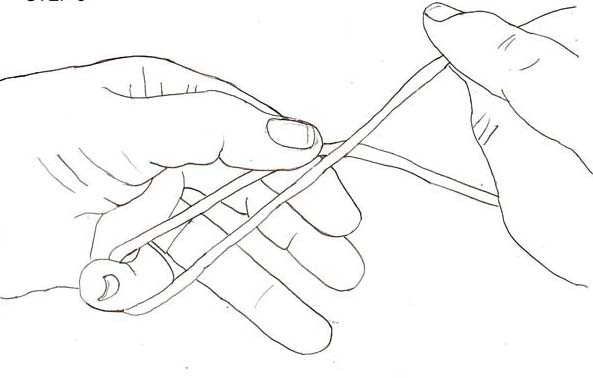
Step 1: First grasp the end of the line with your lead hand and pull it through the opposite thumb and forefinger.
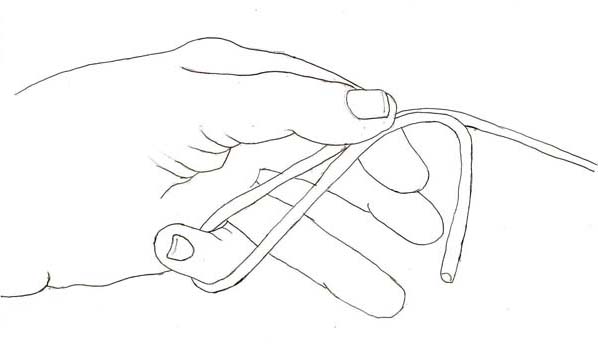
Step 2: Continue to pull the line toward then around the base of the little finger to form a loop.
Step 3: Hold both lines lightly with the same thumb and forefinger pull the end out about 8-inches of line past the thumb.

Step 4: Twist the tag end and circle it around to create a 3-inch diameter loop with about 3-inches sticking out.
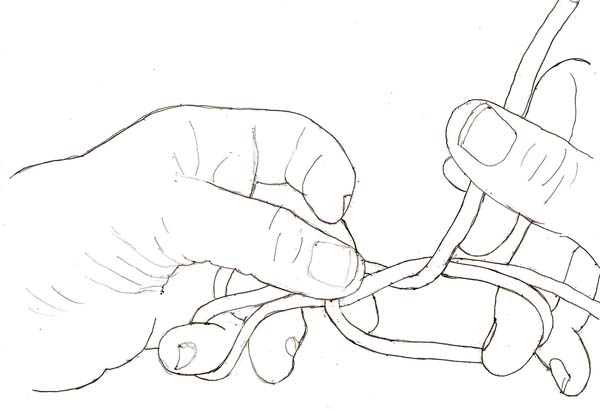
Step 5: Pass the tag end over both lines and through the loop that you just formed.
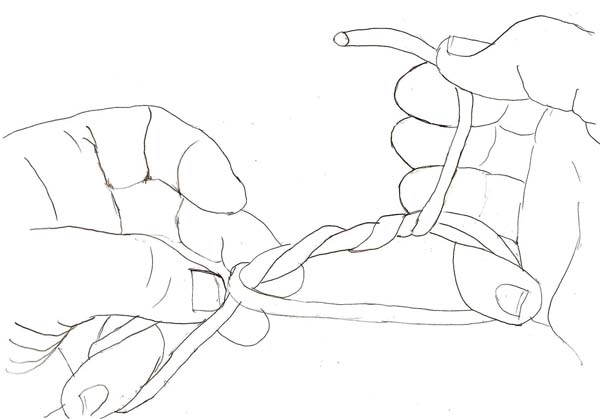
Step 6: Pass through at least three times for mono over 100-pound test and successively more times with successively smaller line sizes.
Step 7: Pull the tag end and standing line together hard enough so that the knot will begin to fold over itself and snug enough not to loosen.

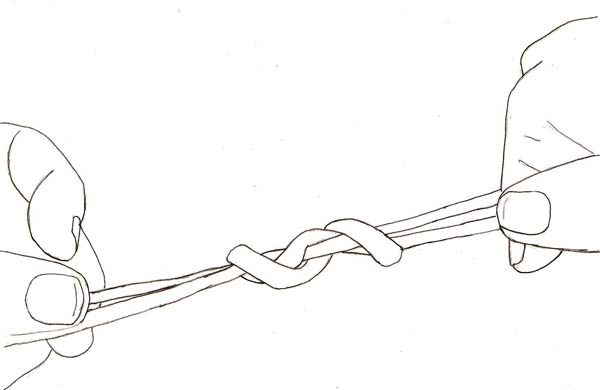
Step 8: Then put the loop on something smooth and solid like a small cleat or a gaff hook under foot. Grasp the tag end with pliers and the standing line with the other hand then apply equal tension on both lines in the same direction, pull slowly to control the loop size until the knot folds over its self then harder on the tag end until it snugs up to the desired tightness.
Sponsored